If you notice air in your lines, start by turning off the water supply and opening all faucets to drain existing air. Use a pressure gauge and bleed valves to vent high points while gradually re-pressurizing the system. Check fittings and tighten seals to prevent air entry. Following proper bleeding and purging steps ensures smooth flow and pressure. To gain a thorough understanding of each step, continue exploring detailed techniques for effectively priming and purging your water lines.
Key Takeaways
- Identify and vent high points in the system to release trapped air gradually.
- Turn off pumps before opening bleed valves or vents to prevent air from entering.
- Start purging from the lowest points, opening outlets sequentially to push out air.
- Ensure all fittings and connections are tight and sealed to prevent air entry.
- Regularly inspect and maintain system components to reduce air entrapment and promote proper priming.
Understanding Why Air Gets Trapped in Water Lines

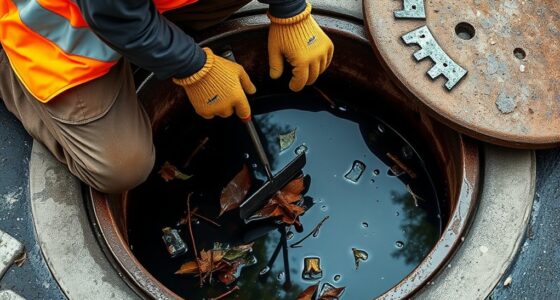
Air can get trapped in water lines for several reasons, often during installation or maintenance. When pipes are connected or repairs are made, air can enter if the system isn’t properly sealed or vented. Sudden pressure changes, like turning off the water supply quickly, can also cause air pockets to form. Additionally, if pipes are not filled completely during setup, air remains inside. Poorly designed plumbing systems lacking adequate vents or air release valves tend to trap air more easily. Over time, leaks or loose fittings can introduce air into the lines. Recognizing these causes helps you understand why trapped air occurs, setting the stage for effective priming and purging to restore smooth water flow. Proper system design and regular maintenance can significantly reduce the chances of air becoming trapped in your water lines.
Identifying Symptoms of Air in Your Water System
You might notice your faucets or pipes making gurgling sounds, which can signal trapped air. Sudden drops in water pressure are another clue that air is interfering with your system. Recognizing these signs helps you diagnose and address air in the lines quickly. Proper water system tuning can prevent air accumulation and maintain optimal performance.
Gurgling Faucets and Pipes
Gurgling sounds from faucets and pipes often indicate the presence of air in your water system. When you turn on a tap or flush a toilet, and hear bubbling or chattering noises, it’s a sign air is trapped somewhere in the lines. These sounds usually happen when air pockets disrupt the normal flow of water, causing turbulence and vibrations. You might notice that water flow is inconsistent or that faucets emit strange noises even when not in use. Gurgling can also occur in pipes behind walls or beneath floors, making it harder to pinpoint. If you hear these noises, it’s a clear indication that air has entered your system and needs to be properly purged to restore quiet, steady water flow.
Sudden Water Pressure Drops
Sudden drops in water pressure are a common sign that air has entered your plumbing system. You might notice weaker flow from faucets, inconsistent water delivery, or brief interruptions during use. These symptoms indicate air pockets disrupting water movement. To diagnose, check your pressure gauge or listen for sputtering sounds. Here’s a quick comparison:
| Symptom | Possible Cause |
|---|---|
| Fluctuating water flow | Air pockets causing blockages |
| Inconsistent pressure | Air trapped in pipes |
| Sputtering faucets | Air in supply lines |
| Sudden pressure drops | Air entering system |
Identifying these signs early helps you prevent damage and restore steady flow efficiently.
Gathering the Necessary Tools and Materials

Before you start priming and purging, gather all the essential tools and materials you’ll need. Make sure you have an accurate checklist to avoid forgetting anything important. Preparing your supplies in advance helps the process go smoothly and quickly. Including the right performance upgrades can make a significant difference in the effectiveness of your tuning process.
Essential Tools Checklist
To successfully prime and purge your lines, you need to gather the right tools and materials beforehand. Having everything ready guarantees a smooth process and prevents delays. Essential tools include a wrench, a pressure gauge, and replacement fittings. Materials such as sealant, hoses, and a reliable air compressor are also crucial. Check this list to feel confident in your setup:
| Tool | Purpose | Emotion |
|---|---|---|
| Wrench | Tightening connections | Preparedness |
| Pressure Gauge | Monitoring pressure safely | Confidence |
| Replacement Fittings | Fixing leaks quickly | Security |
| Sealant | Ensuring airtight seals | Assurance |
| Air Compressor | Providing consistent airflow | Readiness |
Gather these tools, and you’ll be ready to prime and purge efficiently and safely.
Material Preparation Tips
Proper material preparation starts with gathering all the necessary tools and supplies beforehand, so you’re not left searching during the process. Confirm you have the right fittings, hoses, and connectors to match your system. Check that your pump, pressure gauges, and any replacement parts are ready and functioning. Having clean rags or towels nearby helps manage spills and drips. Gather any sealants or lubricants recommended for your equipment. Organize everything in a clean workspace to avoid delays. Double-check that you have enough fluid or air supply to complete the priming and purging process. Preparing these materials in advance minimizes interruptions and keeps the workflow smooth. A little preparation saves time, reduces frustration, and ensures you have all needed tools within arm’s reach.
Preparing Your Water System for Priming and Purging
Making certain your water system is ready for priming and purging is a crucial step to prevent air pockets and maintain proper flow. Begin by inspecting all connections and fittings, tightening any loose parts to prevent leaks that can introduce air. Make sure the system is filled with water up to the required level, removing any debris or obstructions from the inlet and outlet points. Check that valves are in the correct positions to allow smooth flow during priming. If your system has a pressure gauge, verify that it’s functioning properly. Having the right tools and replacement parts on hand will streamline the process. Ensuring all components are clean and free of debris supports efficient priming, helping to prevent air entrapment. Taking these preparatory steps helps ensure a smooth priming and purging process, minimizing air entrapment and ensuring efficient operation.
Locating the Best Points to Bleed or Vent the System
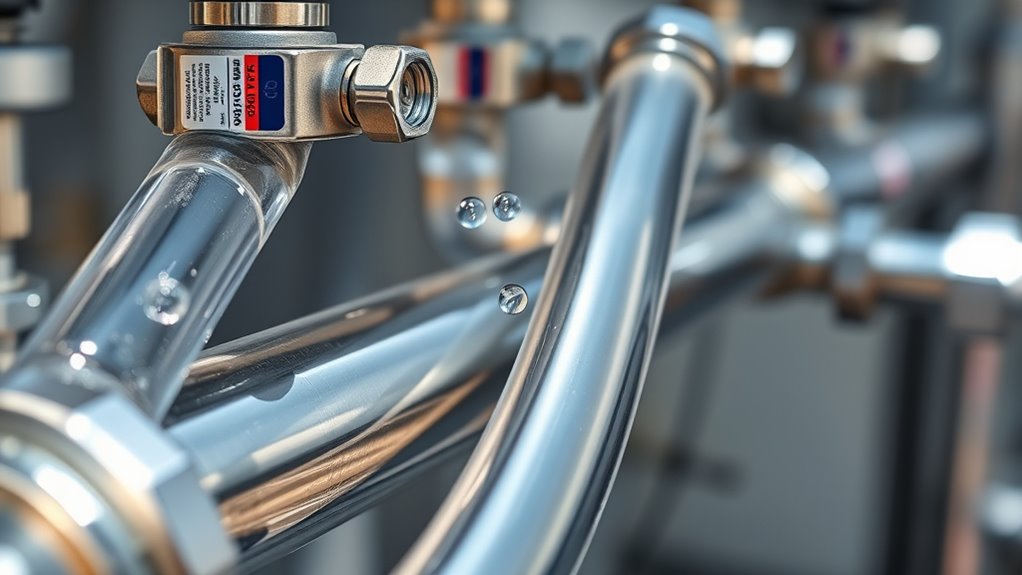
After confirming that your system is filled with water and all connections are secure, the next step is to identify the most suitable points for bleeding or venting air. Focus on spots where air tends to accumulate naturally or where water flow slows down. These are typically high points or sections with sharp bends. Look for visible air pockets or bubbles that gather at the top of pipes. Check near fittings, valves, or junctions where air might get trapped. Also, consider areas with vertical rises or elbows, as these tend to trap air more easily. Properly locating these points guarantees efficient removal of air pockets, preventing issues like noise, reduced flow, or system damage. Additionally, understanding venting and bleeding techniques can help ensure the system operates smoothly and efficiently.
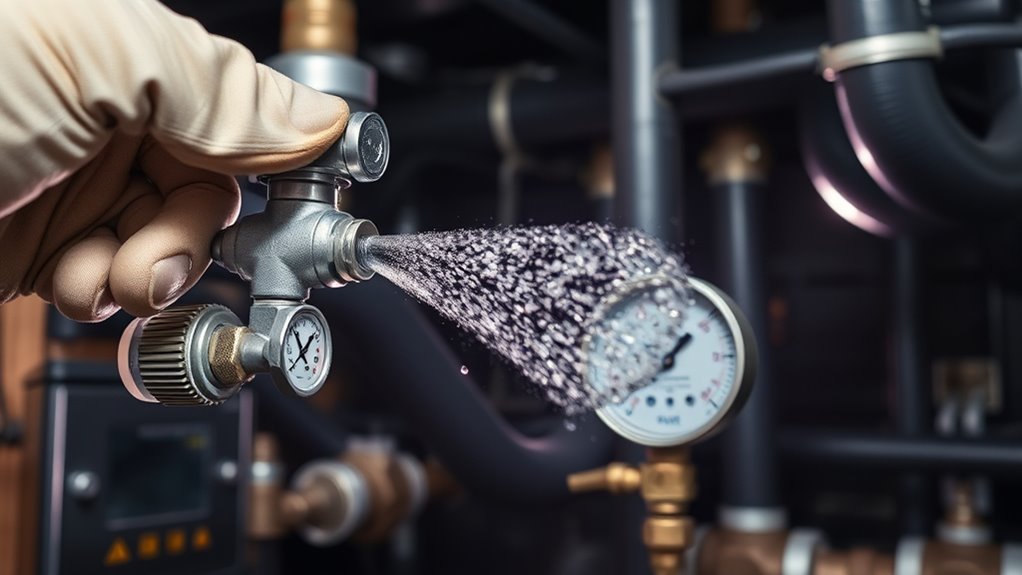
Step-By-Step Process to Remove Air From the Lines

To effectively remove air from your lines, start by turning off any pumps or equipment to prevent water from flowing during the process. Next, open the designated bleed or vent points you identified earlier. Place a container or rag underneath to catch any drips. Slowly open the bleed valve or vent, allowing air to escape. As you do, watch for water to start flowing steadily. Once water flows without bubbles or air pockets, close the valve tightly. Repeat this process at each bleed point, working from the highest to the lowest points in your system. Keep an eye on the water flow and ensure no air pockets remain. This step-by-step approach guarantees your lines are properly purged, reducing air-related issues and improving spray consistency.
Checking for Proper Water Flow and System Functionality
Once you’ve finished purging the lines, it’s essential to verify that water flows smoothly and the system functions correctly. Turn on the water supply and observe the flow at various outlets. Check for consistent pressure without sputtering or interruptions. Listen for abnormal noises that could indicate air pockets or blockages. Feel the pipes and fittings for unexpected vibrations or temperature changes, signaling proper circulation. Ensure all valves are open and functioning properly. Test the system’s performance by running it briefly and watching for steady, uninterrupted flow. Confirm that water reaches all parts of the system evenly. Additionally, referring to system diagnostics can help identify potential issues early. By doing so, you ensure that the purge was successful and your system is ready for regular operation.
Verify smooth water flow and system functionality after purging for reliable operation.
- Clear, steady stream at outlets
- No sputtering or irregular flow
- Consistent pressure levels
- Smooth pipe vibrations
- No air bubbles or noise
Preventative Tips to Minimize Future Air Entrapment

Preventing air from entering your system in the first place requires proactive measures. Always check fittings, hoses, and connections for tight seals before starting your system, as loose parts are common entry points for air. Regularly inspect and replace worn or cracked hoses to prevent leaks. When filling your system, do so slowly to allow air to escape gradually instead of trapping bubbles inside. Keep the system upright whenever possible to reduce air pockets. Use bleed valves or vents during setup to release trapped air early. Maintaining clean, smooth surfaces in fittings minimizes air entrapment. Additionally, choosing preppy dog names that are easy to pronounce can reduce handling errors that might introduce air. Finally, follow manufacturer guidelines for installation and maintenance, and avoid abrupt pressure changes, which can draw air into the lines. These practices help keep your system air-free and running smoothly.
When to Seek Professional Assistance

While regular inspections and maintenance can reduce the risk of air entrapment, there are moments when issues surpass your ability to solve them alone. If you notice persistent air bubbles, inconsistent pressure, or equipment running inefficiently despite troubleshooting, it’s time to call a professional. Don’t ignore signs of system blockage or damage that could worsen over time. Proper asset division knowledge can help prevent complications during the process. You should seek help if:
If problems persist despite maintenance, consult a professional to prevent further damage and ensure system safety.
- The system fails to prime after multiple attempts
- Air keeps re-entering the lines despite your efforts
- You hear unusual hissing or knocking sounds
- The pressure gauge fluctuates erratically
- Visual inspection shows cracked or broken components
A professional can diagnose hidden issues, perform thorough purging, and ensure your system operates safely and efficiently. Don’t risk further damage—know when to get expert assistance.
Frequently Asked Questions
Can Air in Water Lines Cause Long-Term Damage?
Yes, air in water lines can cause long-term damage. It leads to corrosion, especially in metal pipes, which weakens the system over time. Air pockets can cause inconsistent water flow, pressure drops, and increase wear on pumps and fixtures. If you ignore it, you might face costly repairs or replacements. Regularly priming and purging your lines helps prevent these issues, ensuring your system stays efficient and durable.
Is It Safe to Use Chemical Additives to Remove Air?
Using chemical additives to remove air isn’t generally safe or effective. These chemicals can react with your system, potentially causing corrosion or contamination. Instead, you should focus on proper priming and purging techniques to eliminate air safely. Always follow manufacturer instructions and avoid shortcuts with chemicals. Properly venting and bleeding your lines ensures a clean, air-free system, preventing long-term damage and maintaining ideal performance.
How Often Should I Prime and Purge My Water System?
You should prime and purge your water system whenever you notice air bubbles, experience inconsistent flow, or after maintenance or repairs. Regularly doing this guarantees peak performance and prevents damage. Typically, it’s recommended to purge your system at least once every few months or if you’ve opened the lines for any reason. Keep an eye on system performance, and don’t hesitate to purge more often if issues arise.
What Are the Risks of Improper Bleeding Techniques?
Improper bleeding techniques can lead to air pockets in your system, causing inconsistent water flow or pressure drops. You might also damage components if you don’t bleed out air correctly, leading to costly repairs. Additionally, incomplete bleeding leaves residual air, which can promote bacteria growth or corrosion over time. To avoid these risks, follow proper procedures carefully, ensuring all air is fully expelled and flow remains steady and clean.
Can Air in Lines Affect Water Quality or Taste?
Sure, air in the lines can give your water a funky taste or cloudy appearance, making you question if you’re drinking from a science experiment. It might even introduce tiny air bubbles that affect water clarity and flavor. While it’s not usually dangerous, it can make your water less pleasant to drink. So, keep those lines primed and purged, and enjoy crisp, clean water straight from your tap—no air included.
Conclusion
By understanding how air sneaks into your lines and mastering the priming process, you take control of your water system. Think of it as breathing new life into your pipes—removing trapped air restores smooth flow and peace of mind. With these simple steps, you’ll keep your water running clear and steady, turning a frustrating leak into a distant memory. Remember, with patience and care, your system will flow like a well-orchestrated symphony.

Chloe hails from Paris, France, with extensive experience organizing high-profile events and soirées. She ensures that A Luxury Lifestyle hosts unforgettable events embody elegance and exclusivity, strengthening community ties and brand prestige. Chloe’s meticulous planning guarantees flawless and memorable gatherings.