
To master leathercraft, start by maintaining sharp, clean tools to guarantee precise cuts. Use a straight edge and swivel knife for accuracy, and take your time to cut carefully. When stitching, pick sturdy needles and waxed thread, keeping tension even for durability. Finish by burnishing and dyeing edges smoothly to give your project a polished look. Focusing on each step builds a strong foundation, so keep exploring for more detailed techniques.
Key Takeaways
- Use sharp, well-maintained tools like blades and needles for precise cutting and stitching.
- Employ a straight edge and cutting mat for accurate, clean leather cuts.
- Maintain even tension and use waxed thread for durable, uniform stitches.
- Dye edges evenly and burnish after dyeing to achieve a smooth, professional finish.
- Practice each step carefully to develop skill and produce durable, high-quality leather projects.

Have you ever wondered how to transform simple leather into beautiful, durable crafts? It all starts with understanding the basics of leathercraft, especially cutting, stitching, and burnishing. Before diving into these steps, it’s important to keep your tools in top shape. Tool maintenance is essential because sharp, clean blades and well-maintained needles ensure precise cuts and smooth stitches. Dull blades can fray the leather or cause uneven edges, making your project look unprofessional. Regularly clean and sharpen your cutting tools, and store them properly to prevent rust. This not only prolongs their lifespan but also guarantees cleaner cuts, which is critical when working with leather dyeing techniques later in your project. Proper tool maintenance creates a solid foundation for quality craftsmanship.
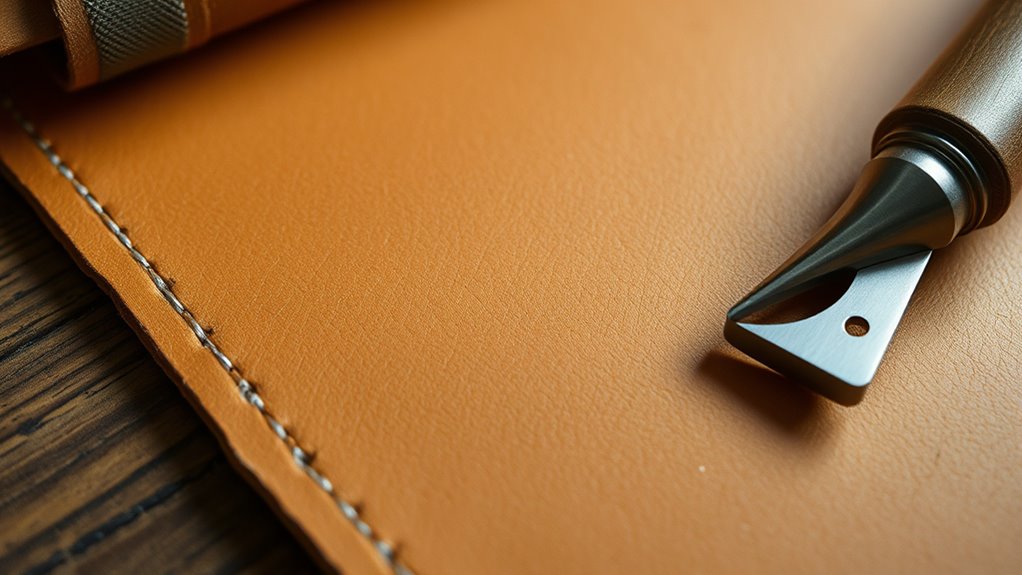
Once your tools are sharp and ready, you can focus on preparing the leather. Cutting leather requires patience and accuracy. Use a straight edge and a cutting mat to ensure clean, straight lines. When making intricate cuts, consider a swivel knife for detailed designs. Remember, the cleaner your cut, the better your final product will look, especially if you plan to dye or finish the leather. After cutting, you’ll likely want to stitch your pieces together. Stitching is more than just joining pieces; it adds durability and aesthetic appeal. Use a sturdy needle and waxed thread for strength and ease of sewing. Keep an even tension as you sew to ensure the stitches are uniform. If you’re new to stitching, practice on scrap leather first. A well-executed stitch line not only holds your project together but also enhances its overall look.
Burnishing is the last step that gives leather a professional finish. It involves smoothing and polishing the edges to make them look clean and polished. Before burnishing, you may want to dye the edges using leather dyeing techniques to match or contrast your project. Applying dye evenly is key, so use a sponge or dauber and work in thin layers. Once the dye dries, burnish the edges with a tool or cloth to seal and smooth them. This process not only improves appearance but also helps protect the edges from fraying or damage. The combination of proper tool maintenance, skillful cutting, stitching, and burnishing ensures your leathercraft projects are durable and visually appealing. With practice, these fundamental steps will become second nature, allowing you to focus on creativity and unique designs. Remember, patience and precision are your best tools in transforming raw leather into stunning, professional-looking crafts.
Frequently Asked Questions
What Types of Leather Are Best for Beginners?
For beginners, the best leather types are those that are beginner friendly, like vegetable-tanned and chrome-tanned leather. These leathers are soft, easy to cut, and forgiving, making your first projects smoother. Full-grain and top-grain leathers are also great options because they’re durable and look good over time. Stick with these types, and you’ll find leathercraft more enjoyable and less frustrating as you learn the basics.
How Do I Choose the Right Stitching Tools?
Choosing the right stitching tools is like picking the perfect paintbrush—you want precision and comfort. Focus on tools suited for your stitching techniques, such as needles, awls, and thread. Make sure they’re sharp, well-maintained, and comfortable to hold. Regular tool maintenance keeps your stitches neat and consistent, making your leather projects look professional. Invest in quality tools, and they’ll serve you well through countless creative adventures.
What Safety Precautions Are Necessary When Burning Leather?
When burning leather, you need to prioritize fire safety by working in a well-ventilated area to avoid inhaling fumes. Keep a fire extinguisher nearby and never leave the burning tool unattended. Make sure your workspace is clear of flammable materials, and wear safety gloves and eye protection. Always follow manufacturer instructions for your burning tool, and ascertain proper ventilation to prevent smoke buildup and health hazards.
How Can I Fix Mistakes During Cutting or Stitching?
Imagine your leather masterpiece as a delicate dance, where mistakes are just missteps you can gracefully correct. To fix errors during cutting or stitching, gently lift or trim excess leather, and use a leather repair kit for stubborn flaws. Carefully restitch or resew, blending the repair seamlessly. Embrace each correction as part of your craft’s story, turning imperfections into a proof to your skill and patience.
What Finishing Techniques Enhance Leather Durability?
To enhance leather durability, you should focus on edge finishing and surface treatment. Edge finishing smooths and seals the edges, preventing fraying and damage, while surface treatments like sealants or oils protect against moisture and wear. Regularly applying these techniques keeps your leather looking good and lasting longer. Make certain to properly sand, burnish, and seal the edges, and use quality surface finishes to guarantee maximum durability.
Conclusion
Now that you’ve learned the essentials of cutting, stitching, and burnishing, you’re ready to turn raw leather into something beautiful. Think of these skills as the brushstrokes on your masterpiece—each one shaping your craft with purpose and precision. With practice, your leather projects will come alive like a well-tuned instrument, singing with your personal touch. Keep honing your techniques, and soon, every piece you create will tell a story as rich as the leather itself.

Born in Dubai to Pakistani parents, Aisha deeply understands Middle Eastern and South Asian luxury markets. She excels in forging strategic partnerships with top-tier luxury brands worldwide, fostering cross-cultural collaborations that enhance our global presence.