
To set up your projector for sharp, vibrant images, start by choosing the right screen size based on your room and viewing distance. Calculate the proper throw distance to focus the image correctly and avoid distortion. Guarantee your projector has enough brightness—usually 1,500 to 3,000 lumens in darker rooms and higher in brighter spaces. Attention to these factors ensures a clear picture; explore further tips to master your setup.
Key Takeaways
- Select a screen size that matches room dimensions and viewing distance for optimal clarity and immersion.
- Calculate throw distance based on projector specifications to ensure the image fits the screen without distortion.
- Adjust brightness according to ambient light levels, with 1,500–2,500 lumens ideal for dark rooms and 3,000+ for bright spaces.
- Properly position and level the projector to minimize keystone distortion and achieve a sharp, centered image.
- Calibrate brightness and contrast settings to enhance image vividness, reducing washout and ensuring detailed visuals.

Mdbebbron 120 inch Projector Screen 16:9 Foldable Anti-Crease Portable Projector Movies Screens for Home Theater Outdoor Indoor Support Double Sided Projection
CONVENIENT TO STORAGE AND CARRY : Compact one-piece,lightweight and folding design. You can fold the projector screen in…
As an affiliate, we earn on qualifying purchases.
As an affiliate, we earn on qualifying purchases.
Why Choosing the Right Screen Size Matters for Your Projector

Choosing the right screen size is essential because it directly impacts your viewing experience. When selecting a size, consider your room’s dimensions and how the screen material interacts with ambient light. A larger screen can create an immersive experience but may require precise projector calibration to maintain image clarity. If the screen is too small, you might miss details, while an oversized screen can cause pixelation or blurry images. Proper projector calibration ensures the image fits the screen perfectly, highlighting the importance of matching your projector’s output to your chosen size. Remember, the ideal screen size balances your room’s space, your viewing distance, and the screen material’s reflective qualities. This careful selection enhances your overall viewing enjoyment without sacrificing image quality. Additionally, considering European cloud innovation can offer insights into sustainable technology solutions that support eco-friendly and energy-efficient setups.

ViewSonic PA503HD 4000 Lumens High DLP Brightness Projector with 1.1x Optical Zoom, USB, and HDMI inputs for Home and Office
High Brightness DLP Lamp FHD Projector: Full HD (1920x1080p) resolution with a 1.4-1.6 throw ratio and 4,000 ANSI…
As an affiliate, we earn on qualifying purchases.
As an affiliate, we earn on qualifying purchases.
How Bright Does Your Projector Need to Be? Understanding Lumens
To get the best picture, you need to contemplate how much ambient light is in your room, as it directly affects projector brightness needs. Room size also matters—larger spaces may require higher lumens to keep images vivid and clear. Understanding these factors helps you choose the right brightness level for your setup, ensuring a bright, sharp image every time. Additionally, considering the contrast ratio can significantly impact perceived image quality, especially in darker scenes. Properly managing ambient light conditions can prevent washed-out images and enhance overall viewing experience.
Ambient Light Impact
Ambient light substantially affects your projector’s image quality, making it essential to comprehend how bright your projector needs to be. Too much ambient light can cause screen glare, washing out your image and reducing contrast. Bright environments demand higher lumen ratings to maintain clarity and vividness. You should also consider ambient noise, which can distract viewers and diminish the overall experience. Minimizing ambient light with window coverings or using a higher-lumen projector helps improve visibility, especially during daytime or in well-lit rooms. Keep in mind that even small amounts of stray light can impact image sharpness and color accuracy. Understanding the light environment of your space and how it influences your setup is crucial for optimal performance. Incorporating smart‑home integrations like automated window shades can help control ambient light levels more effectively. By understanding the relationship between ambient light and your projector’s brightness, you ensure a crisp, vibrant picture with minimal distractions.
Room Size Considerations
Ever wondered how the size of your room influences the brightness your projector needs? Larger rooms demand higher lumens to guarantee a clear, vibrant image. When wall mounting your projector, consider the room’s dimensions and ceiling height, as these factors affect light distribution and glare. To optimize brightness, keep in mind: 1. Room Size – Bigger spaces require more lumens for visibility. 2. Wall Color – Lighter walls reflect more light, reducing brightness needs. 3. ceiling height – Higher ceilings may mean increased throw distances, impacting lumens needed. 4. Lighting Conditions – Ambient light in large rooms can wash out images if brightness isn’t adequate. Evaluating these aspects helps you determine the right projector brightness, ensuring your setup looks sharp regardless of Room Size or mounting preferences. Additionally, understanding lumens can help you choose a projector that performs well even in challenging lighting environments.
Furthermore, considering ambient lighting conditions can assist in selecting a projector with appropriate brightness, especially for rooms with unpredictable or variable light levels. A thorough assessment of the room’s lighting environment can help prevent image washout and enhance viewing quality.
Image Brightness Levels
Choosing the right brightness for your projector depends on understanding lumens, which measure how much light it emits. For bright rooms or ambient light, you’ll need a projector with higher lumens—around 3,000 to 4,000 or more—to guarantee clear images. Lower lumens, about 1,500 to 2,500, work well in dark rooms. Keep in mind, brightness impacts image calibration, making it easier to achieve accurate color reproduction. Too much brightness can wash out colors, while too little may result in dull images. By selecting the appropriate lumens, you help maintain color accuracy and optimize overall image quality. Additionally, considering the environmental factors of your space can help determine the ideal brightness level for optimal viewing experience. Proper ambient light control can further enhance image clarity and color fidelity, ensuring a better viewing experience.

NothPJ NothingProjector Motorized Sliding Tray for Ultra Short Throw Projector, Intelligent Slider for UST Laser TV | Extend to 150" | Automatically Retractable Telescopic | Syncs Projector's Power
[Perfect Image Positioning, Simplified] Position your UST projector with ease to achieve the desired image size without the…
As an affiliate, we earn on qualifying purchases.
As an affiliate, we earn on qualifying purchases.
Which Projection Screen Is Best for Your Room and Needs?

Finding the right projection screen for your room involves considering how you’ll use it and the space you have. First, choose the *projection material* that matches your lighting conditions—matte surfaces reduce glare, while high-gain screens boost brightness. Second, think about *screen mounting* options: wall-mounts save space, while tripod screens offer portability. Third, evaluate the *size and aspect ratio* that fits your viewing distance and room dimensions. Fourth, consider the *installation environment*: a dedicated dark room benefits from different materials than a multi-purpose space. By focusing on these factors, you guarantee your screen enhances your viewing experience, whether for movies, gaming, or presentations. Picking the right projection material and screen mounting setup makes all the difference in achieving a crisp, vivid image.

DYNAVISTA Full Motion Universal Ceiling Projector Mount Bracket with Adjustable Height and Extendable Arms Rotating Swivel Mount for Home and Office Projector (Black)
Universally Compatible: This projector ceiling mount supports most projector brands with distance between the mounting holes on back…
As an affiliate, we earn on qualifying purchases.
As an affiliate, we earn on qualifying purchases.
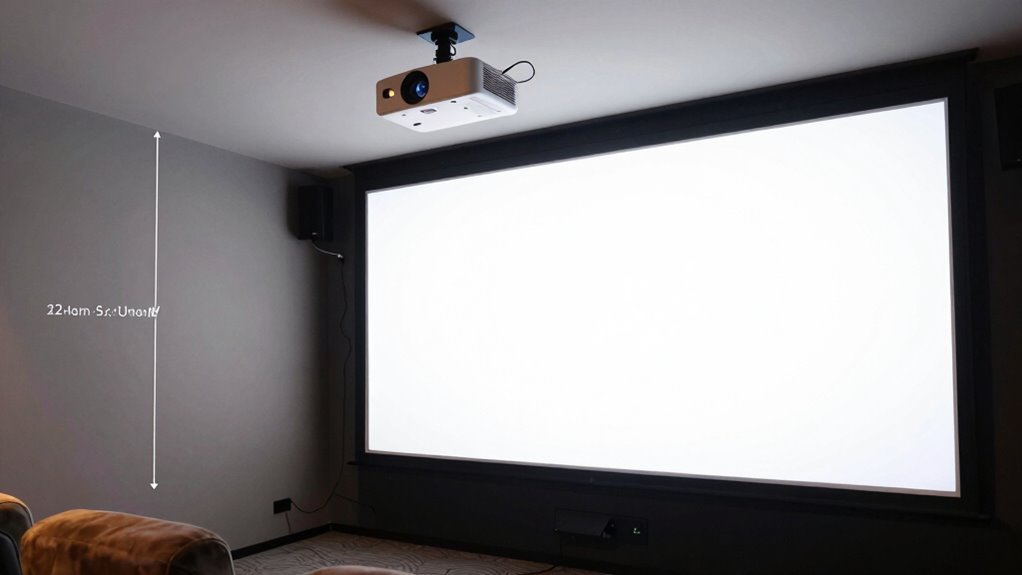
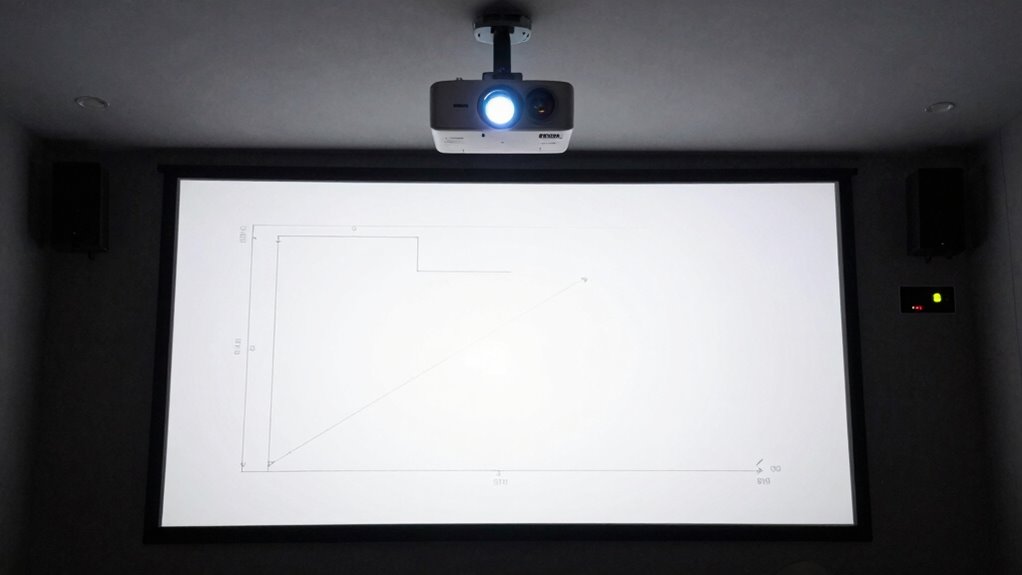
How to Calculate Throw Distance for a Sharp, Focused Image

How can you guarantee your projected image is sharp and focused? The key lies in calculating the correct throw distance. Your throw distance is the space between the projector and the screen. To achieve a sharp image focus, refer to your projector’s throw ratio, which helps determine the ideal distance based on your screen size. For example, if your projector has a throw ratio of 1.5:1 and you want a 100-inch screen, multiply 100 inches by 1.5 to get a throw distance of 150 inches. Adjusting the projector to this distance ensures the image is properly focused. Proper calculation of throw distance prevents blurry images and guarantees a crisp, clear picture, making your viewing experience truly sharp and immersive. Additionally, understanding your projector’s image quality capabilities can help optimize focus and brightness for the best viewing experience. Being aware of your projector’s lens shift features can also aid in fine-tuning the image positioning without moving the entire unit.
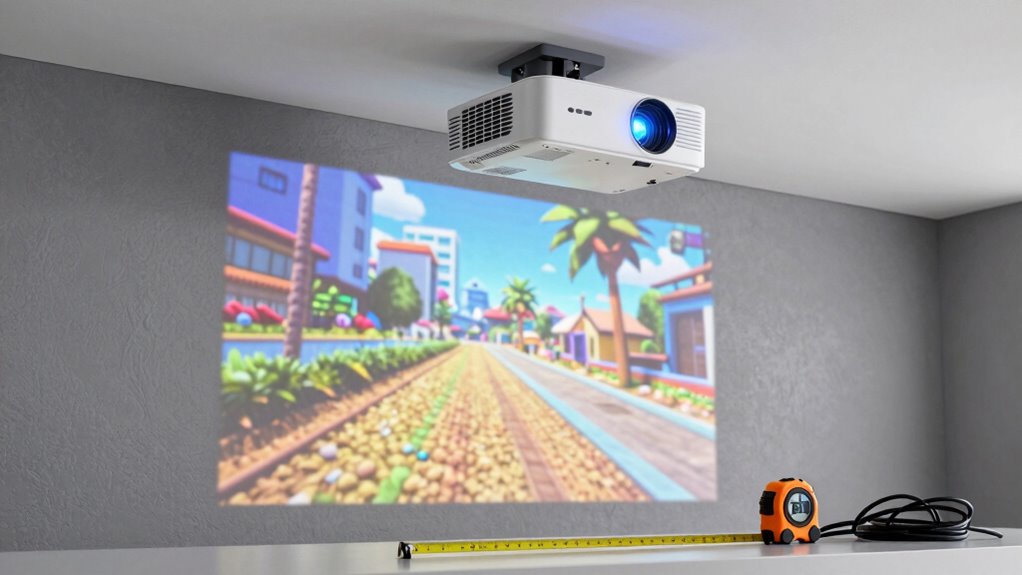
How to Position Your Projector for a Clear, Vibrant Picture

Once you’ve calculated the correct throw distance to guarantee your image is sharp and focused, the next step is properly positioning your projector to achieve a clear, vibrant picture. Focus on these key factors:
- Adjust the mounting height to align the lens with the center of the screen, avoiding distortion.
- Set the projection angle to minimize keystone effects and maintain image uniformity.
- Ensure the projector is level to prevent skewed images.
- Use adjustable mounts or keystone correction if necessary, but avoid over-reliance to maintain image quality.
Common Setup Mistakes and How to Avoid Them
Many common setup mistakes can compromise your projector’s image quality and viewing experience, but most are easily avoidable with careful attention. One key error is neglecting proper projection calibration, which can lead to distorted images, incorrect colors, or focus issues. Take the time to adjust keystone, focus, and aspect ratio for a sharp, aligned picture. Another mistake is overlooking audio integration; poor setup can cause audio delays or lack of synchronization, distracting from your viewing. Always connect and test your audio system early, ensuring clear sound without interference. Avoid rushing through these steps. Proper calibration and seamless audio integration are essential for a professional-looking setup and an immersive experience. Being mindful of these common pitfalls helps you maximize your projector’s performance. Additionally, understanding home entertainment systems can help you optimize your setup for a more enjoyable viewing environment, especially when considering system compatibility and future upgrades. Paying attention to projection environment considerations, like room lighting and surface quality, can further enhance your viewing experience. Familiarity with safety precautions ensures your setup remains secure and reliable over time. Incorporating proper ventilation can also prevent overheating and extend the lifespan of your projector.
Final Checklist: Is Your Projector Ready for Prime Time?
Before you start your presentation, double-check that the lens is clean and free of dust or smudges. Make sure your projector is properly aligned with the screen for a clear image, and adjust the brightness so everything looks sharp and vibrant. Taking these final steps guarantees your setup is fully ready for prime time. Additionally, verifying your ventilation considerations can help prevent overheating and ensure optimal performance during your presentation. Incorporating airflow management techniques such as proper placement and cooling solutions can further maintain ideal operating conditions for your projector. Remember, proper airflow management is essential for preventing heat buildup and prolonging your equipment’s lifespan. Ensuring the projector’s temperature regulation is functioning correctly can also prevent thermal shutdowns and maintain consistent performance.
Lens Cleanliness Check
Have you checked the projector lens lately? Regular lens maintenance is essential to ensure maximum optical clarity and a sharp image. Dust, fingerprints, or smudges can diminish picture quality. To keep your projector performing at its best, follow these steps:
- Power off and unplug the projector.
- Use a soft, lint-free cloth to gently wipe the lens.
- For stubborn smudges, apply a small amount of lens cleaner on the cloth.
- Avoid touching the lens with your fingers to prevent oil transfer.
- Keep the air purifier in the same room to reduce airborne dust that can settle on the lens and affect image quality.
- Consider using connected home fitness equipment or devices that can help monitor and improve your environment, including dust levels, to maintain optimal viewing conditions.
Maintaining a clean lens prevents image distortion and prolongs your projector’s lifespan. Remember, a clear lens is key to a bright, crisp picture, making your viewing experience truly standout. Proper lens care is a simple but critical part of projector setup.
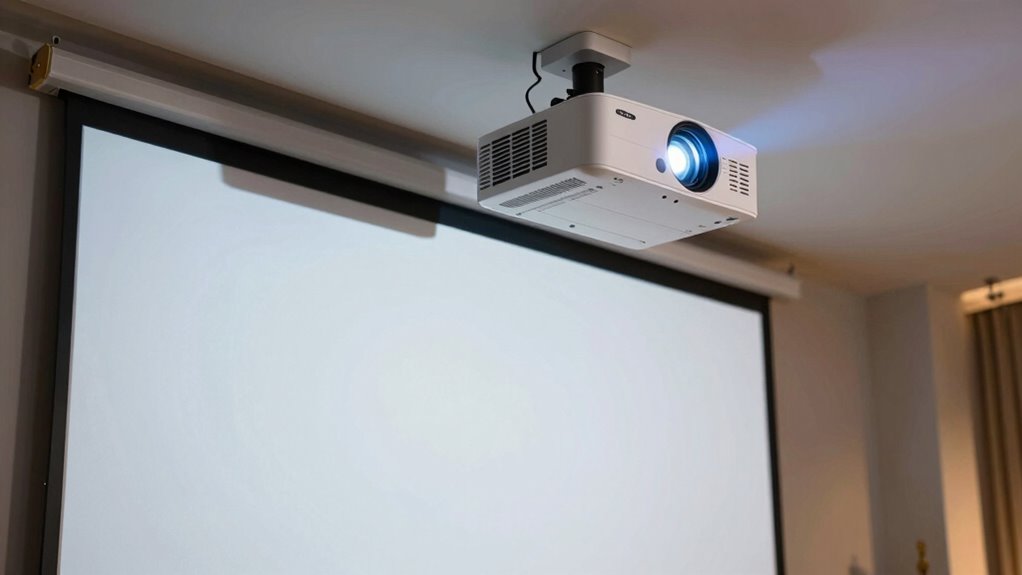
Correct Screen Placement
A well-maintained lens sets the stage for a great projection, but even the clearest lens won’t deliver ideal image quality if the screen isn’t properly positioned. First, decide between wall mount or ceiling installation based on your space and viewing angle. For wall-mounted screens, ensure they’re centered and at an optimal height—typically eye level when seated. If you opt for ceiling installation, securely mount the screen so it’s level and aligned with your projector’s throw distance. Double-check that the screen is straight and free of obstructions. Proper placement minimizes distortions and ensures everyone has a clear view. Take the time to verify that your screen’s position matches your projector’s specifications to guarantee a sharp, undistorted image during your presentation or movie night.
Brightness Adjustment Needed
Ensuring your projector’s brightness is properly adjusted is essential for a clear and vibrant image. Proper brightness levels prevent washed-out visuals and maintain detail. To achieve this, consider these steps:
- Adjust contrast enhancement settings to improve image depth and prevent dullness.
- Calibrate colors accurately for true-to-life hues, which also affects perceived brightness.
- Increase brightness if the image appears dim, but avoid overdoing it to prevent loss of contrast.
- Fine-tune contrast settings alongside brightness to balance vividness and clarity.
Frequently Asked Questions
How Does Ambient Light Affect Projector Brightness Choices?
Ambient light considerably impacts your projector brightness choices. If your room has lots of ambient light, you’ll need a projector with higher brightness, measured in lumens, to guarantee the image remains clear and vibrant. In darker environments, lower brightness settings suffice, saving energy and reducing eye strain. Always assess your room’s lighting conditions first, then select a projector with appropriate brightness to achieve the best viewing experience.
Can I Use a Portable Projector Outdoors Effectively?
You can definitely use a portable projector outdoors effectively. In fact, over 60% of users find portable setups convenient for outdoor movie nights. Choose a model with high brightness, ideally 2,500 lumens or more, to combat ambient light. Look for outdoor durability features like weather-resistant casings and sturdy stands. With the right portable setup, you’ll enjoy clear images and easy mobility, making outdoor viewing an enjoyable experience.
What Maintenance Is Required for Optimal Image Quality?
To keep your projector’s image quality ideal, clean the lens regularly with a soft, dry cloth to prevent dust buildup. Check the bulb life and replace the bulb as needed to maintain brightness. Additionally, guarantee proper ventilation and keep the projector free of dust and debris. Regular maintenance like lens cleaning and timely bulb replacement help your projector deliver clear, vibrant images every time you use it.
How Do Different Projection Screen Materials Impact Image Clarity?
Different projection screen materials substantially impact image clarity through their textures and reflective coatings. Smooth, matte surfaces reduce glare and enhance sharpness, while textured surfaces can diffuse light, decreasing clarity. Reflective coatings amplify brightness and contrast, making images more vivid. You should choose a surface that matches your environment’s lighting and viewing needs, ensuring textures are even and coatings are high-quality to optimize your viewing experience.
Are There Specific Projector Models Ideal for Gaming Setups?
Think of gaming projectors as your secret weapon for immersive battles. Models like the Optoma UHD50X or BenQ TK850i deliver fast response times and vibrant visuals, making your gameplay feel like you’re right there. These gaming projectors are designed to minimize lag and enhance picture quality, so you can focus on winning. Choosing the right model boosts your experience, turning your room into the ultimate gaming arena in seconds.
Conclusion
Getting your projector setup just right is like tuning a fine instrument—every detail matters for the perfect picture. By choosing the right screen size, brightness, and positioning, you’ll enjoy sharp, vibrant images every time. Avoid common mistakes, double-check your setup, and you’ll have a home theater experience that’s as clear as a crystal. With these secrets in mind, your projector is ready to impress, making your movie nights unforgettable.