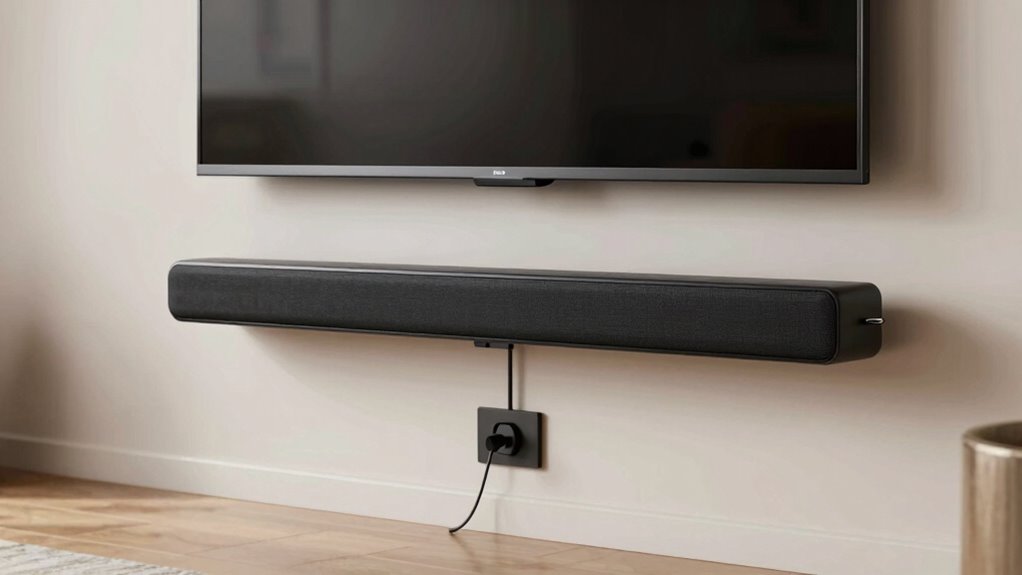
To mount your soundbar the right way, choose a height at ear level when seated for ideal sound and avoid mounting too high or low. Organize cables neatly using clips or raceways to keep your space tidy. Minimize vibrations with mounts that absorb shocks and choose hardware designed for your wall type to guarantee stability. Small adjustments in position can greatly improve audio quality. If you want detailed tips, you’re in the right place to learn more.
Key Takeaways
- Mount the soundbar at ear level when seated for optimal audio clarity and immersive sound experience.
- Use appropriate brackets and hardware suited for your wall type to ensure secure, vibration-free mounting.
- Keep cables organized with clips or covers, and conceal wiring for a neat, safe setup.
- Incorporate vibration dampening mounts or padding to reduce vibrations and improve overall sound quality.
- Regularly inspect and tighten mounting hardware to maintain stability and prevent sound distortion over time.

Mounting Dream Soundbar Mount Bracket for Mounting Above or Under TV Fits Most of Sound Bars Up to 15 Lbs, with Detachable Long Extension Plates MD5420
Unique Design – Our soundbar mounting bracket can hold a soundbar up to 15LBS/6.8KG. Compatible with wall mounts…
As an affiliate, we earn on qualifying purchases.
As an affiliate, we earn on qualifying purchases.
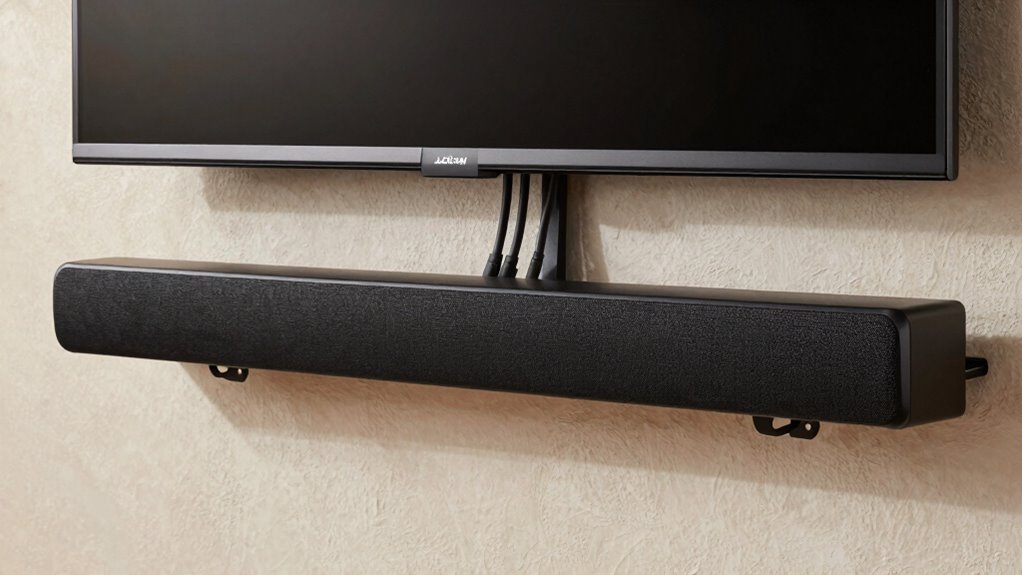
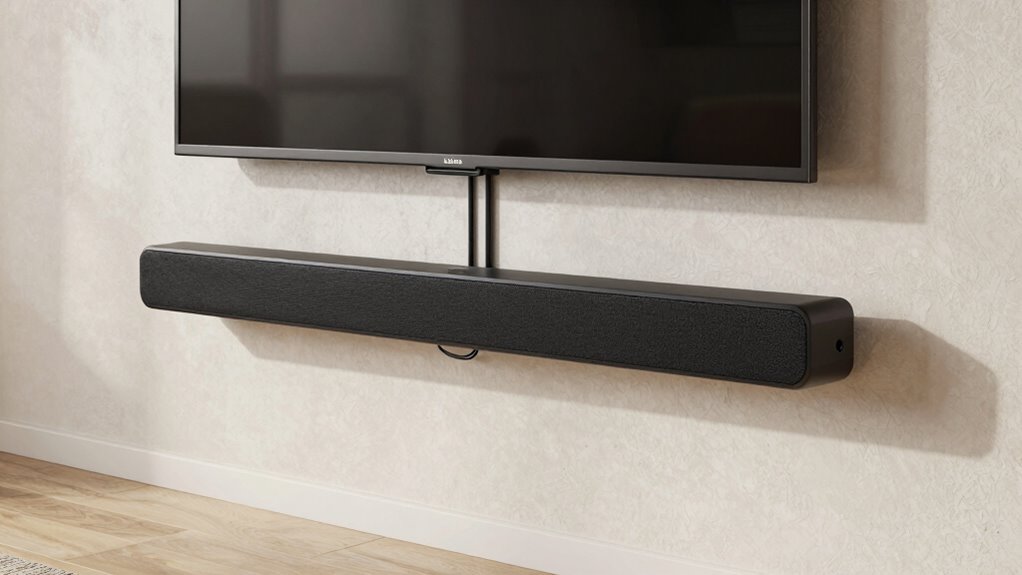
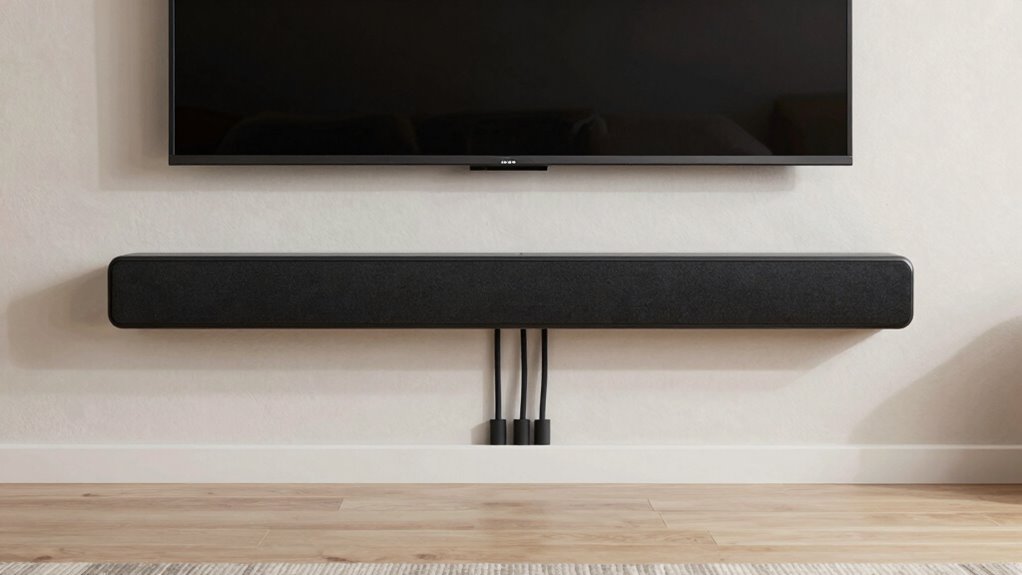
How to Find the Best Height for Your Soundbar
Finding the right height for your soundbar is essential to guarantee ideal sound quality and a clean look. You want the soundbar to be positioned so that sound projects directly toward your listening area, enhancing clarity and immersion. Consider your room’s layout and the placement of your TV, as these influence the best height. Soundbar aesthetics matter—you should aim for a setup that blends seamlessly with your decor. Your user preferences also play a role; some prefer the soundbar slightly below or above eye level, depending on their seating. Keep in mind that mounting it too high can distort sound, while mounting too low might interfere with the TV. Finding a balance ensures both great audio performance and a visually pleasing setup. Additionally, understanding sound quality fundamentals can help you make more informed decisions about placement. When choosing the optimal mounting height, consider experimenting with different positions to find the best sound projection for your space. Adjusting the sound dispersion can also improve overall audio clarity and coverage. Incorporating proper mounting techniques can further prevent issues like vibration and misalignment that interfere with sound quality. Moreover, using tools like laser level guides can help achieve precise and consistent placement.

XHF 120 PCS Adhesive Cable Wire Clips Black, Outdoor Christmas Light Clips, Cable Management Wire Organizer Cord Holder for Under Desk, Car, Wall, TV PC Ethernet Cable
High quality material:XHF Adhesive Cable Clips are manufactured from Strong Adhesive and PA66 nylon
As an affiliate, we earn on qualifying purchases.
As an affiliate, we earn on qualifying purchases.
What Hardware Do You Need to Mount Your Soundbar Safely?
To mount your soundbar securely, you’ll need the right mounting brackets and hardware that fit your model. Cable management accessories help keep cords organized and out of sight, creating a clean setup. Ensuring you have these essentials will make your installation safe and professional-looking. Additionally, considering installation height ensures optimal sound quality and integration with your home entertainment setup. Proper nanotechnology applications in mounting equipment can enhance durability and reduce vibrations, contributing to better sound performance. For increased stability, selecting vibration damping materials can further improve the longevity and sound clarity of your setup. Incorporating advanced mounting techniques can also help minimize potential damage and improve overall stability. Being aware of load capacity helps prevent overloading brackets and ensures a secure mount over time.
Mounting Brackets and Hardware
Before mounting your soundbar, it’s essential to gather the right brackets and hardware to guarantee a secure setup. Proper wall mounting ensures your speaker placement remains stable and effective. You’ll need brackets compatible with your soundbar’s size and weight, along with appropriate anchors and screws for your wall type. Check if your hardware kit includes all necessary components or if you need to purchase additional items. Use the table below to identify essential hardware:
| Hardware Component | Purpose |
|---|---|
| Wall brackets | Support and secure the soundbar |
| Anchors and screws | Attach brackets to the wall |
| Mounting template | Ensure correct placement |
Choosing the right hardware prevents vibrations and keeps your soundbar firmly in place. Additionally, considering vibration damping techniques can help protect your equipment and enhance sound quality. Proper hardware selection plays a crucial role in avoiding unwanted noise and ensuring longevity of the mounted soundbar. Ensuring proper installation techniques, such as correct hardware selection, is vital for maintaining the durability and performance of your mounted soundbar. Paying attention to installation guidelines can further improve stability and reduce the risk of damage over time.
Cable Management Accessories
Ensuring proper cable management is essential for a clean, safe, and professional-looking soundbar setup. Cable management accessories help you organize and secure wires, preventing tangles and accidental disconnections. Consider using cable clips or ties to bundle cables neatly along the wall or furniture. Decorative cable covers are especially useful because they hide unsightly wires, giving your setup a sleek appearance. They come in various finishes to match your decor and can be easily mounted with adhesive backing or clips. By investing in these accessories, you not only improve the aesthetics but also reduce tripping hazards and protect cables from damage. Proper cable management accessories make your installation safer, neater, and more durable over time.

4pcs 25 x 25mm Rubber Mounts Rubber Vibration Isolator Mounts Shock Absorber with M6 x 19mm Studs Vibration Isolators
Package: 4pcs Black Rubber Vibration Isolator Mounts Shock Absorber and 8pcs M6 nuts.
As an affiliate, we earn on qualifying purchases.
As an affiliate, we earn on qualifying purchases.
Tips for Mounting Your Soundbar Securely and Without Damage
Mounting your soundbar securely is essential to prevent accidents and damage. Proper wall mounting guarantees stability, minimizes vibrations, and keeps your setup looking neat. To do this effectively, use appropriate anchors and screws suited for your wall type. Ensure the mount is level and securely attached to avoid slipping or falling. When considering cable concealment, opt for in-wall wiring or cable channels to prevent loose cords from pulling on the mount. Additionally, understanding filtration and how vibrations can affect sound quality can help you choose the best mounting solutions. Selecting the right mounting hardware can also mitigate the impact of vibrations on your soundbar’s sound performance. Here are some tips to help you mount confidently:
- Choose the right mounting hardware for your wall material.
- Double-check the weight capacity of your mount.
- Hide cables within the wall or use discreet cable covers for a clean look.

Huepar Fine-tuning Bracket for Line and Point Laser Levels, 1/4"-20 Male Thread L-Shape Magnetic Pivoting Base with 1/4"-20 and 5/8"-11 Female Threaded Mounts on Bottom for Wall & Ceiling Mount – PV12
【1/4"-20 Male Thread】This L-shaped magnetic pivoting base has a 1/4"-20 male thread mount suit with laser levels or…
As an affiliate, we earn on qualifying purchases.
As an affiliate, we earn on qualifying purchases.
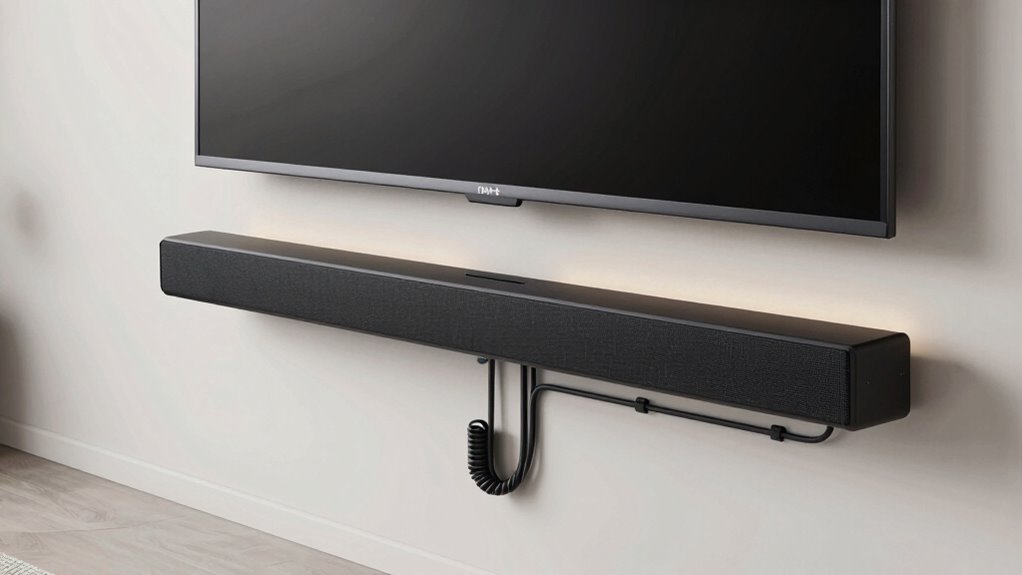
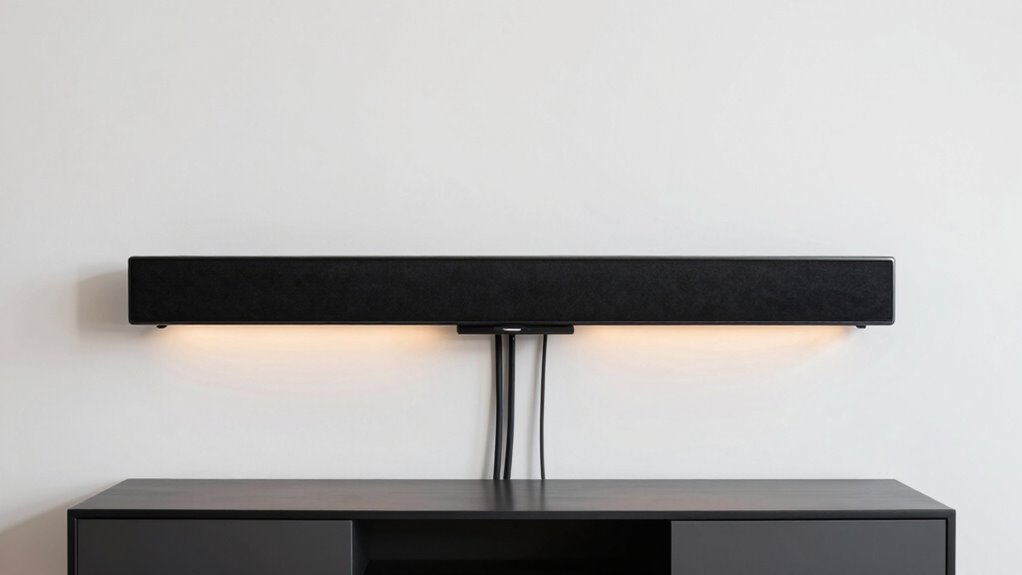
How to Organize Cables for a Clean, Tidy Setup
A cluttered array of cables can quickly ruin the sleek look of your entertainment setup. To achieve a clean, tidy appearance, focus on cable concealment by routing wires along walls or behind furniture. Use cable clips or raceways to keep cords neatly in place and prevent tangling. Label your wires with wire labeling techniques so you can easily identify and troubleshoot connections later. This not only simplifies maintenance but also reduces visual clutter. Avoid leaving loose cables hanging, which can look messy and cause damage over time. Instead, bundle excess wire lengths with twist ties or Velcro straps, concealing them neatly. Proper cable management techniques can further improve your setup by preventing damage and ensuring safety. Implementing professional-grade materials can enhance durability and reliability in your cable organization. A well-organized cable system enhances the overall aesthetic and makes your setup look professional and streamlined. Additionally, understanding cable management techniques can help you optimize your setup even further. Remember that safety considerations are crucial when handling electrical cables to prevent accidents or damage.
How to Minimize Vibrations for Better Sound Clarity
To improve sound clarity, you should focus on reducing vibrations that can distort audio. Using vibration dampening mounts and securing your hardware tightly can make a big difference. These steps help keep your soundbar steady and guarantee you get the best possible audio experience.
Use Vibration Dampening Mounts
Vibrations can distort sound quality and reduce clarity, making it essential to minimize their impact. Using vibration dampening mounts helps absorb unwanted movements, improving overall sound clarity. These mounts increase mount stability, preventing the soundbar from transmitting vibrations to your wall or furniture. When choosing vibration dampening mounts, look for options with rubber or silicone padding designed to absorb shocks. Proper installation ensures the mounts stay secure and effective over time. Additionally, selecting mounts with shock absorption properties can further enhance vibration control. Incorporating installation techniques that promote even weight distribution can also help minimize vibrations and improve sound performance. Properly selecting mounting locations can significantly reduce the transmission of vibrations to surrounding surfaces. Understanding the importance of sound isolation can guide you in choosing the best mounting solutions. By reducing vibrations, you’ll enjoy clearer dialogue, richer bass, and an overall better listening experience. Remember, investing in good vibration dampening mounts can make a significant difference in sound quality. Proper installation techniques also play a key role in maximizing vibration absorption. Keep your setup stable and vibrations at bay for the best soundbar performance.
Secure Mounting Hardware
Secure mounting hardware plays a essential role in minimizing vibrations that can distort your sound quality. Using sturdy brackets and appropriate anchors ensures your soundbar stays firmly in place, reducing unwanted noise. Always follow safety precautions when installing mounting hardware to prevent accidents or damage. Proper hardware absorbs minor vibrations and prevents them from spreading through the wall or furniture. Here’s a quick guide:
| Mounting Hardware | Safety Precautions | Benefits |
|---|---|---|
| Heavy-duty brackets | Use level tools | Reduces vibrations |
| Anchors suitable for wall type | Turn off power | Improves sound clarity |
| Vibration dampening pads | Secure all screws | Prevents shifting |
| Properly rated screws | Check weight limits | Ensures stability |
This setup guarantees your soundbar remains steady, delivering crisp sound without interference.
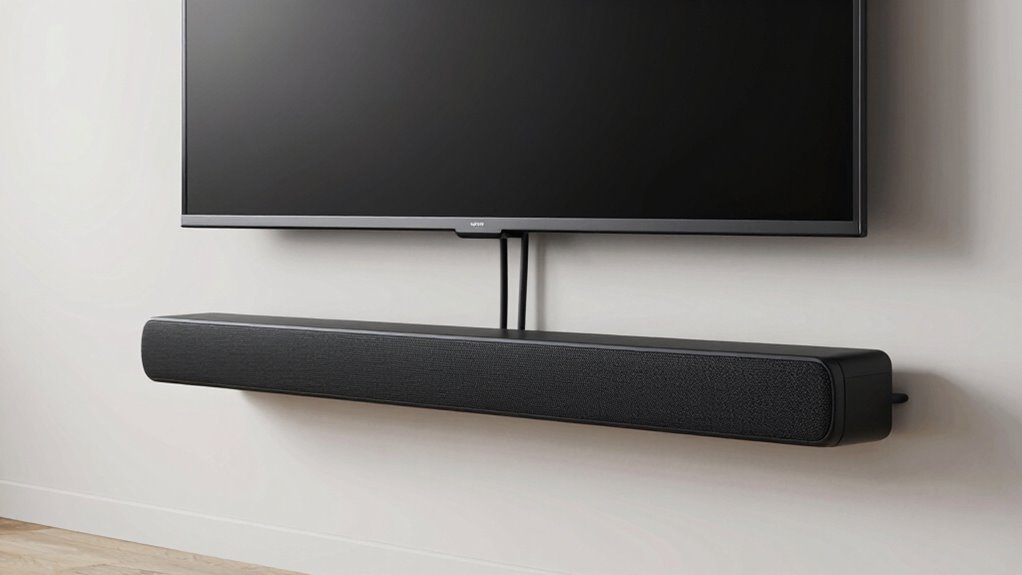
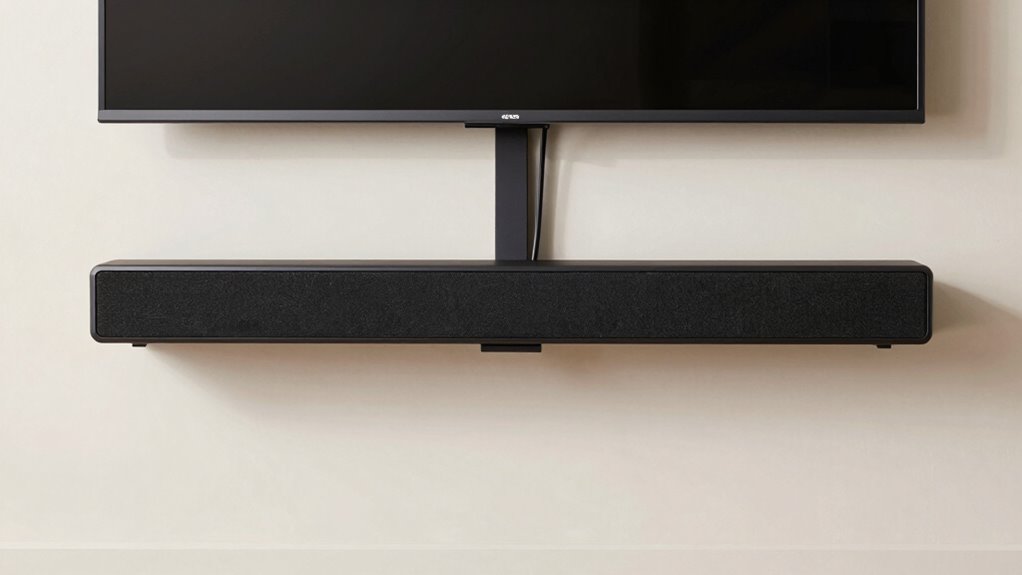
Positioning Tricks to Enhance Your Soundbar’s Audio Quality
Positioning your soundbar correctly can make a significant difference in audio quality. Proper speaker placement ensures sound reflection is optimized, delivering clearer dialogue and richer sound. To improve your setup, consider these tricks:
- Place the soundbar at ear level when seated for the best sound reflection.
- Avoid blocking the speaker grills or ports, which can muffle sound.
- Experiment with slight angles to direct sound toward the listening area, enhancing overall clarity.
These adjustments help balance sound reflection and speaker placement, creating a more immersive experience. Remember, a well-positioned soundbar minimizes audio distortion and maximizes your home theater’s potential. Small changes in placement can lead to noticeable improvements in sound quality, making your listening sessions more enjoyable.
Troubleshooting Common Soundbar Mounting Problems
Even with careful mounting, you might encounter common issues such as uneven sound distribution or the soundbar falling out of place. To troubleshoot, first check soundbar compatibility with your TV and mounting setup to guarantee it’s secure and properly aligned. If sound isn’t evenly distributed, adjust the angle or position to optimize audio coverage. For stability, verify that mounting brackets are securely fastened and the wall material supports the weight. If your remote control isn’t working smoothly, ensure there’s a clear line of sight and remove any obstructions. Additionally, consider remote control tips like replacing batteries or repositioning the remote for better signal reception. Addressing these problems promptly helps ensure your soundbar delivers the best audio experience without frustration.
What to Do If You Can’t Mount at the Ideal Height

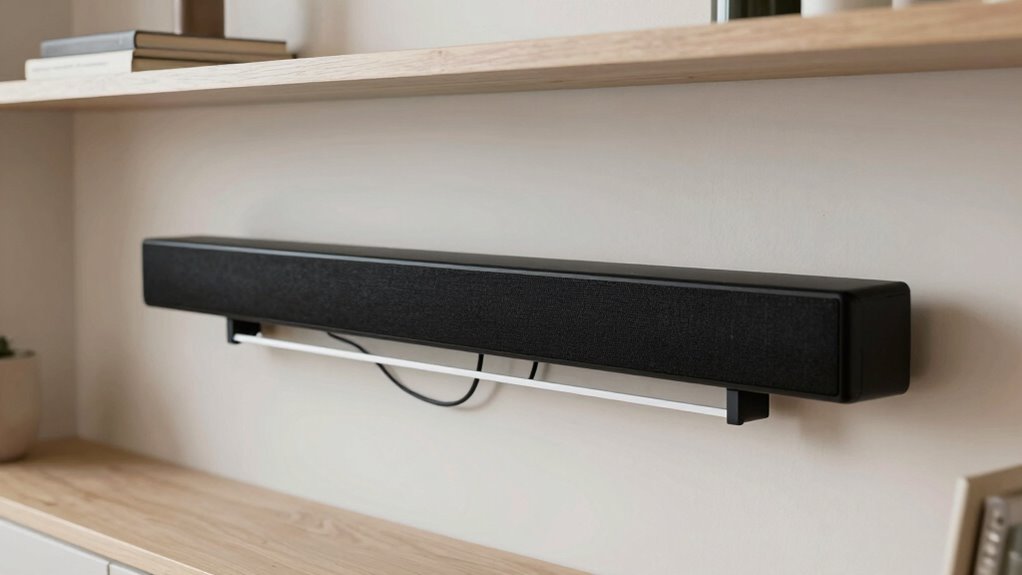
If you can’t mount your soundbar at the ideal height, don’t worry—there are still effective ways to optimize its placement. You can explore alternative mounting options or temporary mounting methods to improve sound quality and aesthetics. For example, you might:
- Use adhesive strips or command hooks for a quick, damage-free solution
- Place the soundbar on a sturdy shelf or furniture at a better height
- Mount it directly on the wall at a less-than-ideal but still effective position
These options allow flexibility when perfect placement isn’t possible. Just ensure the soundbar is stable, unobstructed, and directed toward your seating area for the best audio experience. Remember, even imperfect mounting can work well with some creative adjustments.
Maintaining and Adjusting Your Mount for Long-Term Performance
To guarantee your soundbar remains secure and delivers peak audio quality over time, regular maintenance and adjustments are essential. Over time, vibrations or shifts in mounting techniques can loosen fasteners or misalign the soundbar. Periodically check the mount’s stability, tightening screws as needed. Make long term adjustments to optimize sound quality or accommodate room changes. Use the following table to guide your maintenance:
| Task | Frequency |
|---|---|
| Tighten mounting hardware | Every 3-6 months |
| Check for vibrations | Monthly |
| Adjust height/angle | As needed after repositioning |
Frequently Asked Questions
Can I Mount My Soundbar on a Brick or Concrete Wall?
Yes, you can mount your soundbar on a brick or concrete wall. Just make certain your mounting surface is sturdy enough to support the weight. Use appropriate anchors and screws designed for masonry walls. You might need a drill with a masonry bit to make holes. Properly securing your soundbar to the wall material guarantees stability and excellent sound performance without risking damage or falling.
What Tools Are Essential for Mounting a Soundbar?
You need essential tools like a drill, screwdriver, measuring tools, and mounting hardware to mount your soundbar securely. While some believe basic tools suffice, accurate measuring tools ensure proper placement, preventing vibrations and poor sound quality. Confirm that your mounting hardware matches your wall type, whether drywall or brick. Using the right tools and hardware guarantees a sturdy setup, so take the time to gather everything before starting.
Is It Possible to Retrofit an Existing TV Wall Mount for a Soundbar?
Yes, you can retrofit an existing TV wall mount for a soundbar, but you need to verify its compatibility first. Make sure the mount can support the soundbar’s size and weight. Consider mounting height considerations to align the soundbar properly with your TV’s audio sweet spot. You might need extra brackets or adapters to secure it firmly, especially if the existing mount wasn’t designed for audio equipment.
How Do I Prevent My Soundbar From Overheating After Mounting?
Think of your soundbar like a busy chef—overheating can spoil the dish. To prevent this, guarantee proper ventilation by keeping it at least a few inches away from the wall, avoiding enclosed spaces. Use ventilation tips like installing it in a spot with good airflow and avoiding clutter around it. Overheating prevention is key to keeping your soundbar running smoothly and delivering the best sound experience.
Can I Use Adhesive Strips Instead of Screws for Mounting?
Yes, you can use adhesive strips for mounting your soundbar, but only if they’re designed for mounting weight and provide strong mounting stability. Look for heavy-duty adhesive options, like mounting tapes or strips rated for electronics. Keep in mind, adhesives may not be as secure as screws, especially on uneven or textured surfaces. For the best stability and safety, screws are generally more reliable, but high-quality adhesive strips can work in a pinch.
Conclusion
Think of mounting your soundbar like tuning a fine instrument—you’re crafting a harmony between height, stability, and clarity. With careful adjustments and proper setup, your home theater becomes a symphony of sound, each note resonating perfectly. When you treat your soundbar with the attention it deserves, it performs flawlessly, transforming your space into a sanctuary of immersive audio. Master this art, and every movie night becomes a concert worth remembering.