
To give your furniture a boho vibe, start by prepping the surface—sand, clean, and prime for better paint adhesion. Choose earthy or jewel tones and apply a smooth base coat. To create a weathered look, lightly sand edges and corners or use chipping techniques. Add personal touches with stencils or decorative motifs, then seal with a protective finish. If you want to transform your piece into a stylish boho statement, all the tips you need are just a moment away.
Key Takeaways
- Prepare furniture thoroughly by sanding, cleaning, and applying primer for optimal paint adhesion and durability.
- Choose earthy or vibrant hues, using matte or chalk finishes to enhance texture and create a boho aesthetic.
- Apply base coats with long, even strokes, then distress edges with sandpaper or tools for a weathered look.
- Incorporate stencil patterns or decorative motifs to add personalized, layered details.
- Seal with protective finishes like wax or polyurethane, and style with textiles and rustic accessories for a cohesive boho vibe.
Top picks for "boho furniture makeover"
Open Amazon search results for this keyword.
As an affiliate, we earn on qualifying purchases.
Gathering Your Supplies and Planning the Look
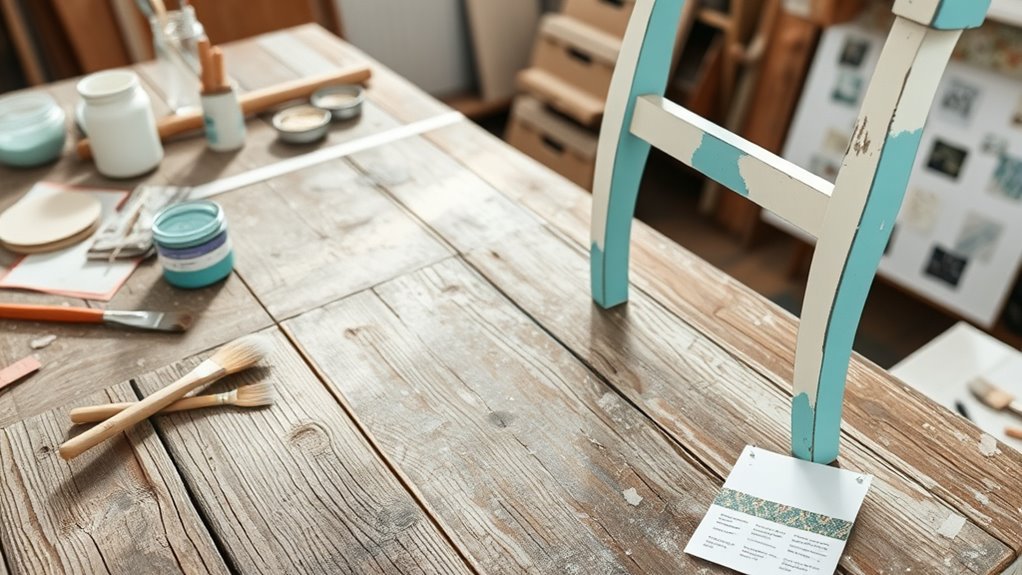
Before you begin your furniture makeover, gathering all the supplies you’ll need and deciding on the overall look you want to achieve is essential. Start by inspecting your piece’s wood grain, as it influences your painting and distressing techniques. If there’s hardware, plan to remove it early to avoid damage and get a smooth finish. Make certain to have sandpaper, paint, brushes, and distressing tools ready. Decide whether you want a light, airy boho vibe or something more vibrant and eclectic. Visualize how your chosen paint colors and techniques will enhance the wood grain and complement your decor. Considering rustic materials like reclaimed wood and natural textiles can help you achieve an authentic boho farmhouse look. Incorporating vetted painting and distressing techniques can ensure a professional and lasting finish. Additionally, understanding the cosmic influences on personal traits can inspire your color choices to reflect your unique personality. Planning ahead guarantees a seamless process and a cohesive final look. Being aware of well-being tips such as proper workspace ergonomics can also make your DIY project more enjoyable and safe. Engaging in proper planning and preparation can help prevent costly mistakes and ensure your project stays on track. Once prepped, you’ll be ready to transform your furniture into a stunning boho statement piece.
Preparing Your Furniture for a Fresh Coat of Paint
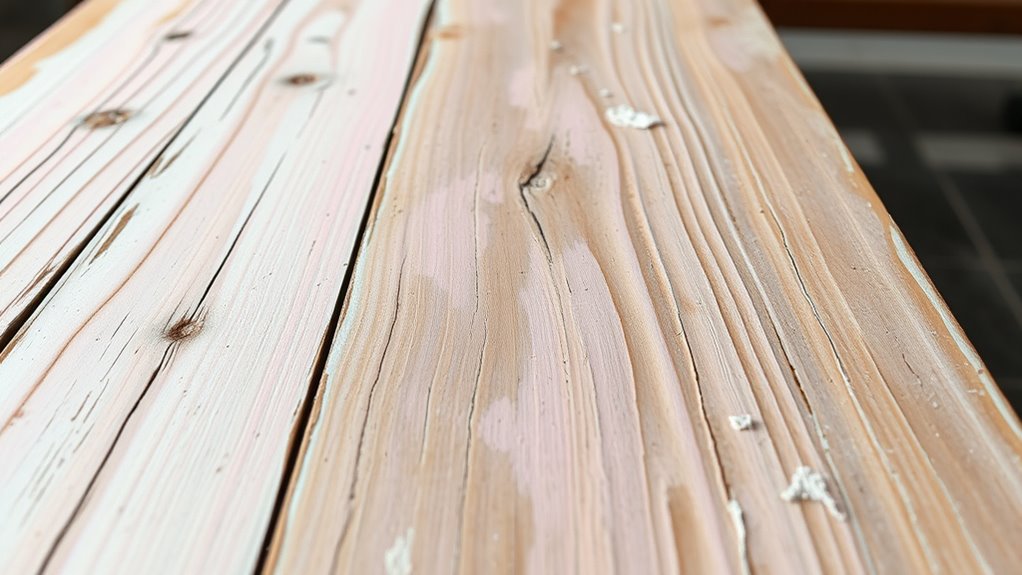
To guarantee your paint job looks smooth and lasts long, you need to properly prepare your furniture first. Start with wood preparation by sanding the surface to remove old paint, rough spots, or gloss. This creates a smooth base for the new coat. Next, thoroughly clean the surface to remove dust, dirt, and grease—surface cleaning is essential for good adhesion. Use a damp cloth or mild cleaner, then let the furniture dry completely. If there are any stubborn residues, lightly sand again. Taking these steps ensures your paint adheres properly and provides a professional-looking finish. Proper preparation is especially important when working with projector screens, as surface smoothness impacts reflectivity and image quality. Research indicates that surface preparation significantly improves paint adhesion and durability, making your project last longer. Additionally, understanding environmental considerations can help you choose eco-friendly paints and methods that minimize your impact on nature. Being aware of climate conditions can also influence your painting process, as humidity and temperature affect drying times and finish quality. Skipping surface cleaning or not sanding properly can lead to peeling or uneven coverage, undermining your entire makeover. Proper preparation sets the foundation for a beautiful, lasting boho furniture transformation.
Choosing the Perfect Color Palette for Your Boho Style

Your color choices should complement your existing decor to create a cohesive look. Trendy hues like earthy tones or vibrant jewel shades can add a fresh, modern touch. By selecting the right palette, you’ll bring your boho vision to life effortlessly. Embracing a thoughtful creative practice can help you experiment with different color combinations and discover what works best for your space. Incorporating color schemes for interior design can also inspire your design choices and make your furniture stand out. Additionally, considering your headphone compatibility options can enhance your listening experience while working on your project or relaxing in your space.
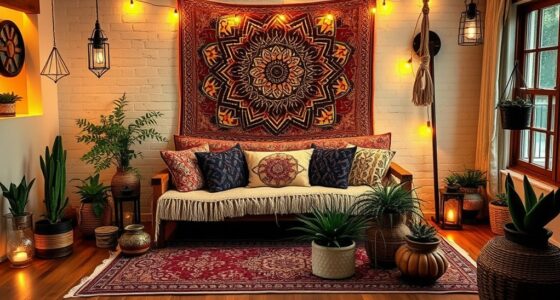
Harmonizing With Decor
Ever wondered how to create a cohesive boho look that feels effortlessly put together? The key is harmonizing your furniture with your decor. Start by mixing textures like rattan, woven fabrics, and distressed finishes to add depth. Coordinate accessories such as cushions, rugs, and wall art to tie everything together. Focus on selecting colors that complement your existing palette—soft neutrals paired with earthy tones often work well. Keep your style unified by paying attention to small details and ensuring your pieces reflect your personality. Remember, balance is essential—don’t overdo it with too many contrasting elements. By mixing textures and coordinating accessories thoughtfully, your furniture will seamlessly blend into your boho space, creating a warm, inviting atmosphere. Incorporating color harmony can also help you choose decor elements that truly resonate with your individual style. Additionally, utilizing visual balance ensures that all elements of your decor work harmoniously, enhancing the overall aesthetic.
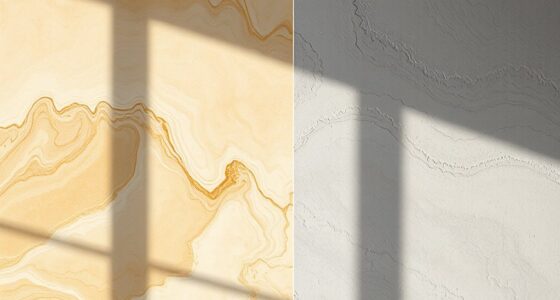
Selecting Trendy Hues
Choosing the right color palette can transform your boho space into a vibrant, harmonious retreat. Start by understanding color theory—select hues that evoke calmness or energy, depending on your mood. Earthy tones like terracotta, warm browns, and muted greens are popular in boho decor. When choosing paint types, opt for matte or chalk finishes to add texture and depth. Consider mixing bold accent colors with softer neutrals to create visual interest and balance. Keep in mind that small pops of color can make a big impact. Test your chosen hues on a small area before committing, ensuring they complement your existing decor. Incorporating color psychology can help guide your choices to evoke specific feelings and atmospheres in your space. Using color harmony principles ensures that your palette remains balanced and pleasing to the eye. Remember that color contrast can also be used strategically to highlight certain features or create focal points within your space. Additionally, paying attention to color placement can enhance the overall harmony and visual flow of your boho aesthetic. Being aware of color trends can also inspire fresh and current choices for your makeover.
Applying the Base Coat for a Smooth Finish
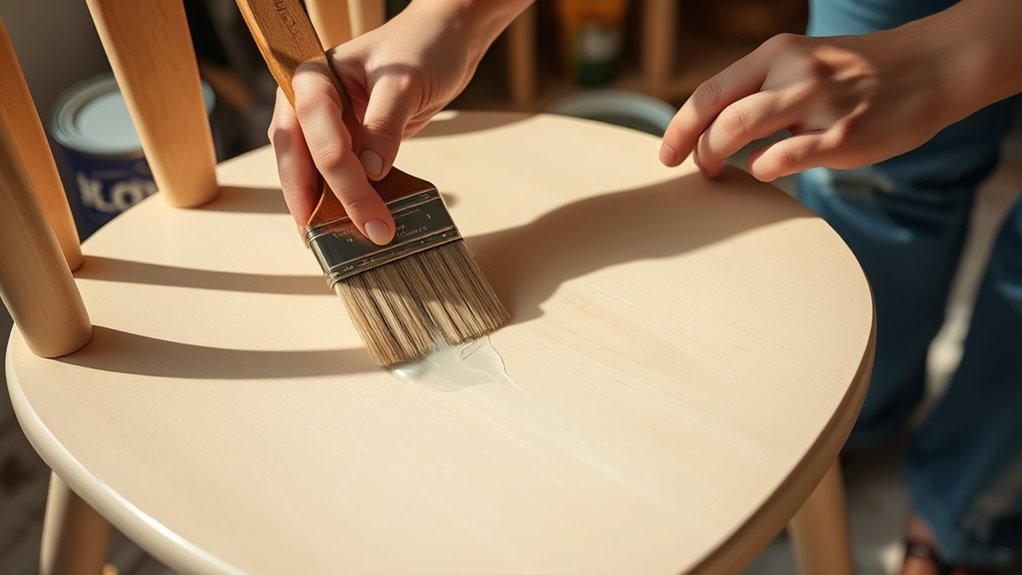
Applying the base coat is a crucial step in achieving a smooth, professional-looking finish on your boho furniture makeover. To do this effectively, choose the right paint types—latex or chalk paint work well for furniture. Use proper brush techniques, like long, even strokes and avoiding overloading your brush, to prevent streaks and drips. Make certain to work in well-ventilated areas and apply thin, even coats. Allow each layer to dry completely before adding the next to ensure a smooth surface. Keep your brush clean to avoid clumps. Here’s what to keep in mind:
Applying a smooth base coat ensures a flawless boho furniture finish.
- Select the appropriate paint type for your furniture
- Use long, consistent brush strokes
- Avoid overloading your brush with paint
- Work in a dust-free environment for the best finish
- Proper surface preparation enhances paint adhesion and durability.
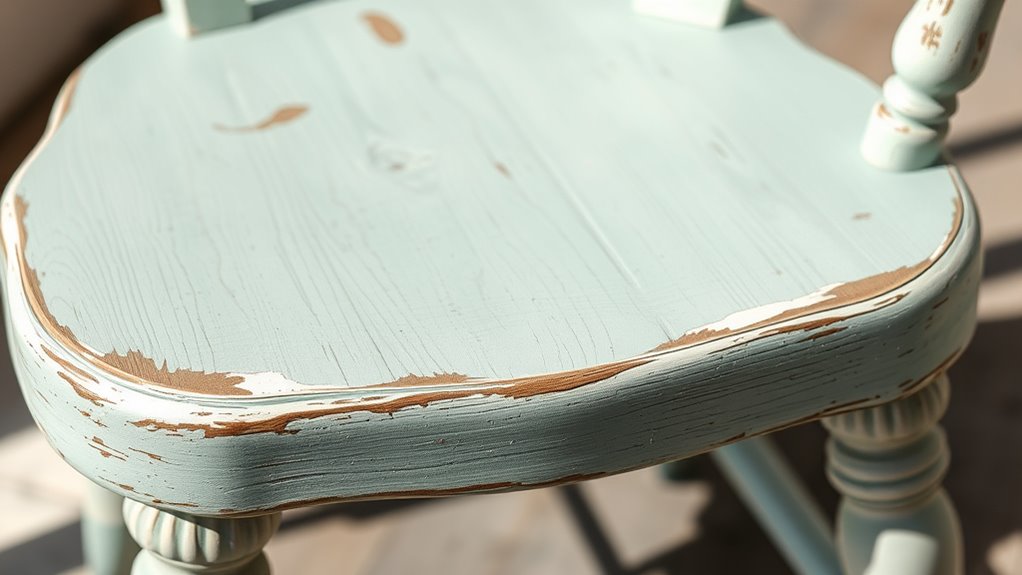
Techniques for Achieving a Weathered, Distressed Effect
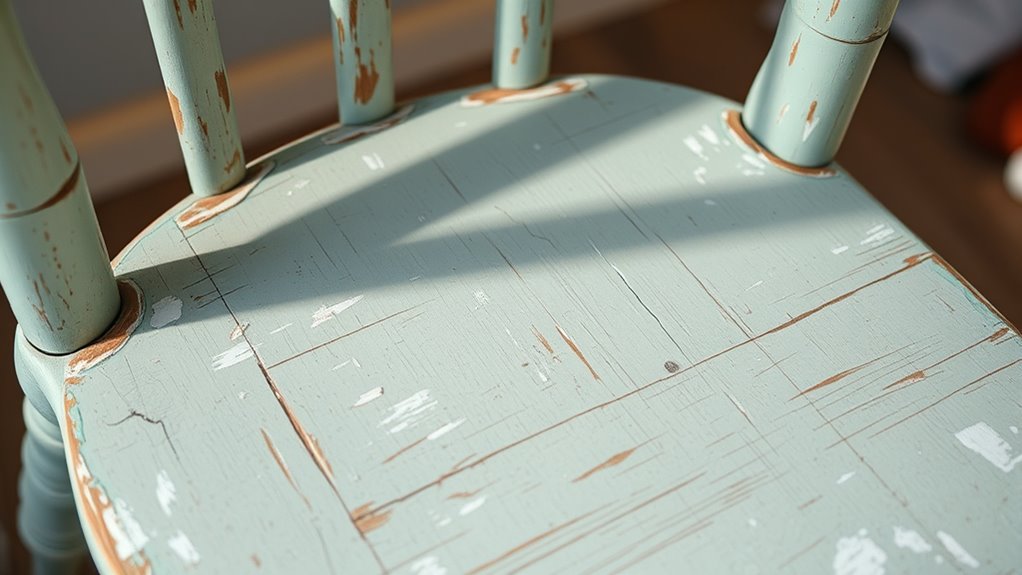
Once you’ve finished applying your base coat and let it dry thoroughly, you can start creating a weathered, distressed look to give your furniture a charming, vintage feel. Use chalk paint for its matte finish and ease of distressing. To achieve a distressed effect, employ sandpaper techniques by gently rubbing areas where natural wear would occur, like edges and corners. This exposes the underlying layer or bare wood, adding authenticity. Here’s a quick guide:
| Technique | Tools | Tips |
|---|---|---|
| Sanding for wear | Fine grit sandpaper | Sand lightly for subtle distressing |
| Chipping | Scraper or brush | Focus on corners and edges |
| Layering colors | Multiple chalk paints | Create depth with overlapping shades |
These methods help you craft a beautifully weathered, vintage look. For a more authentic aged appearance, consider using a distressing technique that mimics natural aging processes. Incorporating layering colors can enhance the depth and realism of your distressed furniture.
Adding Personal Touches With Stencils and Details
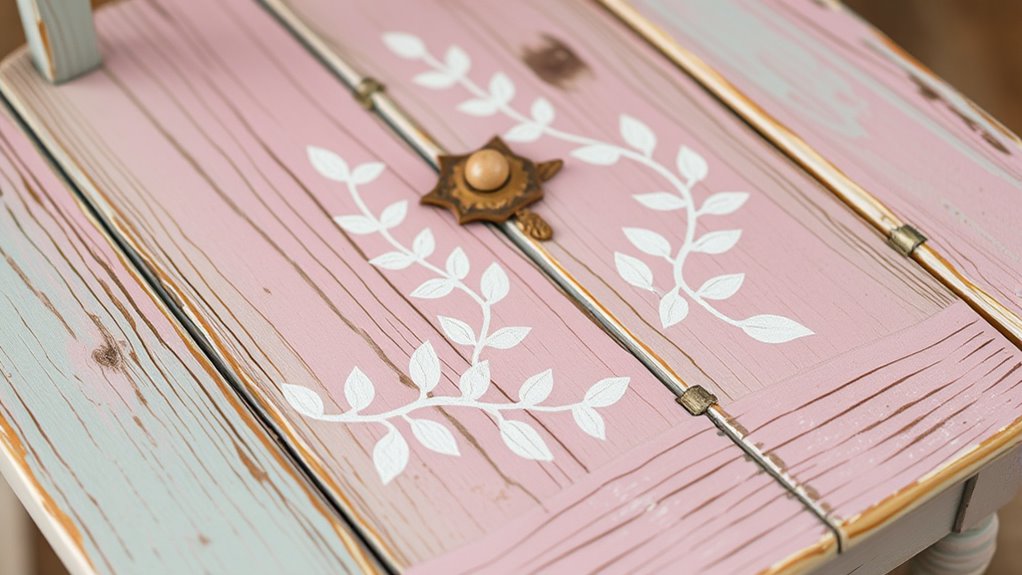
Adding personal touches with stencils and details allows you to customize your furniture and make it uniquely yours. You can add charm and character by using stencil patterns that reflect your style, from boho motifs to geometric designs. Incorporate decorative details such as small painted accents, borders, or motifs that enhance the piece’s personality. To get started, consider selecting stencil patterns that complement your furniture’s overall look and color scheme. Use a steady hand or stenciling tools for crisp lines and precise designs. Remember, less is more—sometimes subtle details make the biggest impact. These touches will elevate your furniture’s uniqueness, turning a simple piece into a statement of your creativity and style.
Sealing and Protecting Your Upcycled Furniture

Sealing and protecting your upcycled furniture is key to ensuring it lasts. You’ll want to choose the right protective finish, learn how to apply it evenly, and understand how to maintain it over time. With proper care, your boho piece will stay beautiful and functional for years to come.
Selecting Protective Finishes
Choosing the right protective finish is essential to guarantee your upcycled furniture looks great and lasts long-term. The finish you select impacts the wood grain’s visibility and the paint’s durability. To make certain your boho piece stays vibrant and protected, consider these options:
- Clear polyurethane for a durable, water-resistant coating
- Matte or satin varnish to enhance wood grain while providing protection
- Polycrylic for quick drying and low odor, ideal for less exposed furniture
- Wax finishes for a soft, matte look that’s easy to reapply
Each option offers different levels of protection and aesthetic appeal. Think about how much wear your furniture will endure and whether you want to highlight the wood grain or create a smooth, uniform surface. Proper selection prevents chipping and fading over time.
Applying Sealant Properly
After selecting the right protective finish, it’s time to focus on applying it properly to guarantee your furniture stays beautiful and durable. Use the appropriate sealant types, such as water-based or oil-based, depending on your project’s needs. When applying, employ gentle brush techniques, working in thin, even coats to avoid drips and streaks. Keep your brush loaded but not overloaded, and follow the grain of the wood for a smooth finish. Be sure to tape off edges or intricate details to prevent excess application. Allow each coat to dry fully before adding another, and lightly sand between coats if needed. Proper application ensures your upcycled furniture is well-protected and maintains its boho charm for years to come.
Maintenance and Care Tips
To keep your upcycled boho furniture looking its best, regular maintenance and proper protection are essential. Sealing your furniture helps prevent damage and preserves your paint and distressing work. Incorporate simple cleaning routines to maintain its charm and longevity.
- Dust regularly with a soft cloth to avoid buildup.
- Use a damp cloth for spot cleaning—avoid harsh chemicals.
- Reapply sealant every 1-2 years for ongoing protection.
- Avoid placing furniture in direct sunlight to prevent fading.
These furniture maintenance tips help keep your piece vibrant and durable. Proper sealing and routine cleaning extend the life of your DIY boho furniture, ensuring it stays a beautiful focal point in your space. Consistent care makes your upcycled furniture look fresh and well-maintained over time.
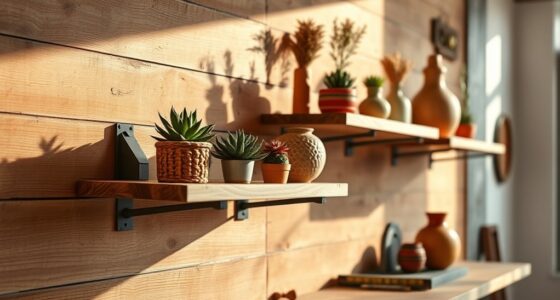
Styling Tips to Incorporate Your New Piece Into Your Space
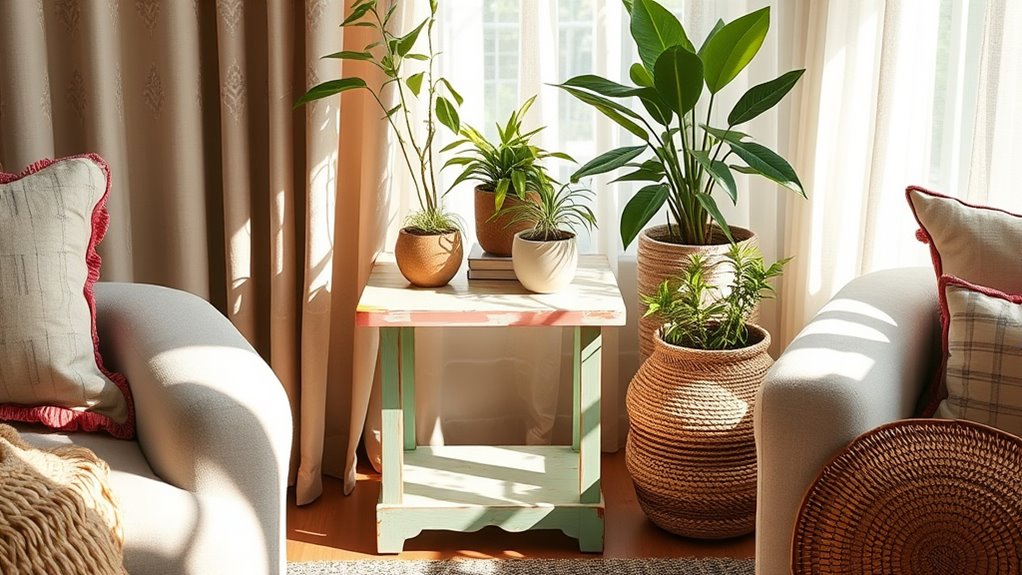
Once you’ve given your furniture a fresh boho look, the next step is to seamlessly integrate it into your space. Use faux finishes to add texture and depth that complement your existing decor. For example, a distressed paint finish can create a relaxed, vintage vibe, while a matte or metallic faux finish can add a touch of sophistication. Consider upholstery options that enhance your style—think patterned cushions or textured fabrics that match your boho aesthetic. Mix and match textiles to create a layered, cozy feel. Position your piece thoughtfully—near a window, in a reading nook, or as a statement in your living area. These styling tips help your furniture blend effortlessly while standing out as a unique, personalized element.
Frequently Asked Questions
How Do I Choose the Best Paint Type for Boho Furniture?
When choosing the best paint type for boho furniture, start by considering your desired paint finish—matte or chalk paints work well for a soft, vintage look. Next, think about your color selection; go for earthy tones or pastel shades that complement boho style. Opt for high-quality, durable paints suited for furniture to guarantee longevity. This way, your piece will have the perfect finish and vibe you’re aiming for.
What Tools Are Essential for Distressing Furniture Effectively?
You’d think distressing furniture is as simple as waving a magic wand, but no—tools matter. Get your hands on a variety of sandpaper grit for different effects, from rough to smooth. Distressing brushes are a must for adding authentic wear and tear. Together, these tools help you achieve that sought-after boho look, turning ordinary pieces into charming, vintage-inspired treasures with just a bit of effort and the right equipment.
Can I Use Chalk Paint for All Furniture Pieces?
You can use chalk paint for most furniture pieces because of its versatility, making it a popular choice for DIY projects. It adheres well to various surfaces and requires minimal prep work. However, keep in mind that chalk paint may need a protective topcoat for durability, especially on high-use furniture. Overall, it’s a great option if you want an easy, stylish finish that combines both aesthetics and practicality.
How Long Does the Entire Furniture Makeover Process Typically Take?
When planning your furniture makeover, the time it takes depends on your project scope, material selection, and drying times. Typically, you’ll spend a few hours to a weekend, including prep, painting, distressing, and sealing. Good project planning helps you stay organized and efficient. Keep in mind, using quality materials and allowing proper drying time guarantee the best results, but it’s normal to spend several days on a full transformation.
What Are Some Common Mistakes to Avoid During Painting and Distressing?
Imagine a canvas before your brush, vibrant and full of potential. You’ll want to avoid common mistakes like skipping surface preparation, which can cause paint to peel or chip later. Keep your color coordination in mind—clashing hues can ruin the boho vibe. Be patient with distressing, applying it evenly, and don’t rush the process. These steps make certain your piece looks intentional, stylish, and beautifully finished.
Conclusion
Now, you’ve transformed that tired old piece into a boho masterpiece—who knew a little paint and some distressing could do so much? Just remember, perfection is overrated, so embrace the quirks and imperfections. After all, your furniture’s new personality is a proof to your creativity—and a reminder that with a little effort, even the bland can become the bold. Happy styling, and don’t forget to show off your stunning makeover!

Chloe hails from Paris, France, with extensive experience organizing high-profile events and soirées. She ensures that A Luxury Lifestyle hosts unforgettable events embody elegance and exclusivity, strengthening community ties and brand prestige. Chloe’s meticulous planning guarantees flawless and memorable gatherings.